Grain Spawn Preparation: Rye, Wheat, and Oats
Everything you need to know about Grain Spawn Preparation: Rye, Wheat, and Oats — from materials to first harvest.

What You'll Need
- See full supply list in guide below.
Find grow supplies at vendors in our Directory.
Step-by-Step Process
Grain Spawn Preparation: Rye, Wheat, and Oats
Grain spawn is the most widely used inoculation substrate for psilocybin mushroom cultivation. Colonized grain provides a high-surface-area, nutritious mycelium carrier that colonizes bulk substrates quickly. This guide covers preparation for the three most common grain types: rye berries, wheat berries, and whole oats.
Why Grain Spawn?
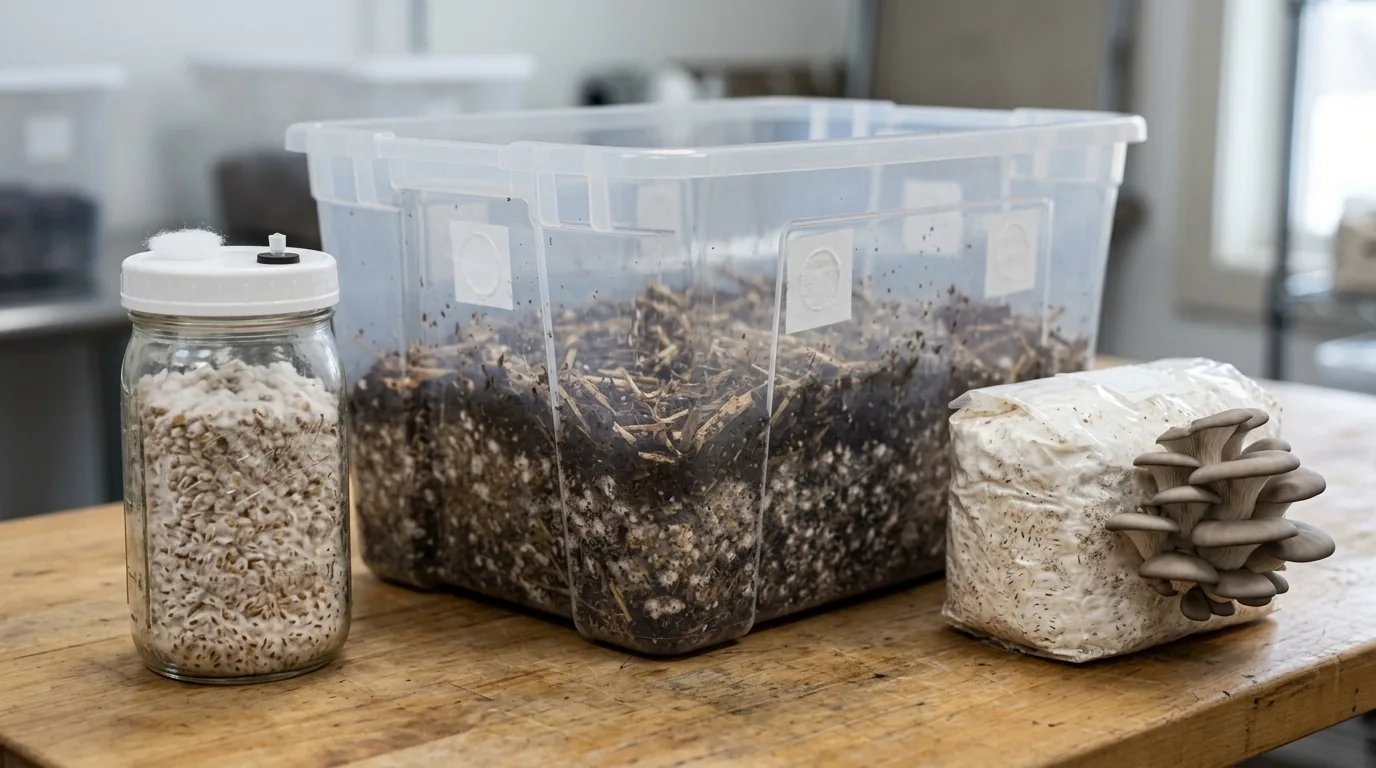
Grain spawn colonizes faster than other carrier substrates (agar, sawdust) because the grain provides direct nutritional value to the mycelium. Colonized grain is then used to inoculate bulk substrate — the ratio of grain spawn to substrate (typically 15-30% by volume) is called the spawn rate and directly affects colonization speed and contamination risk.
Grain Selection
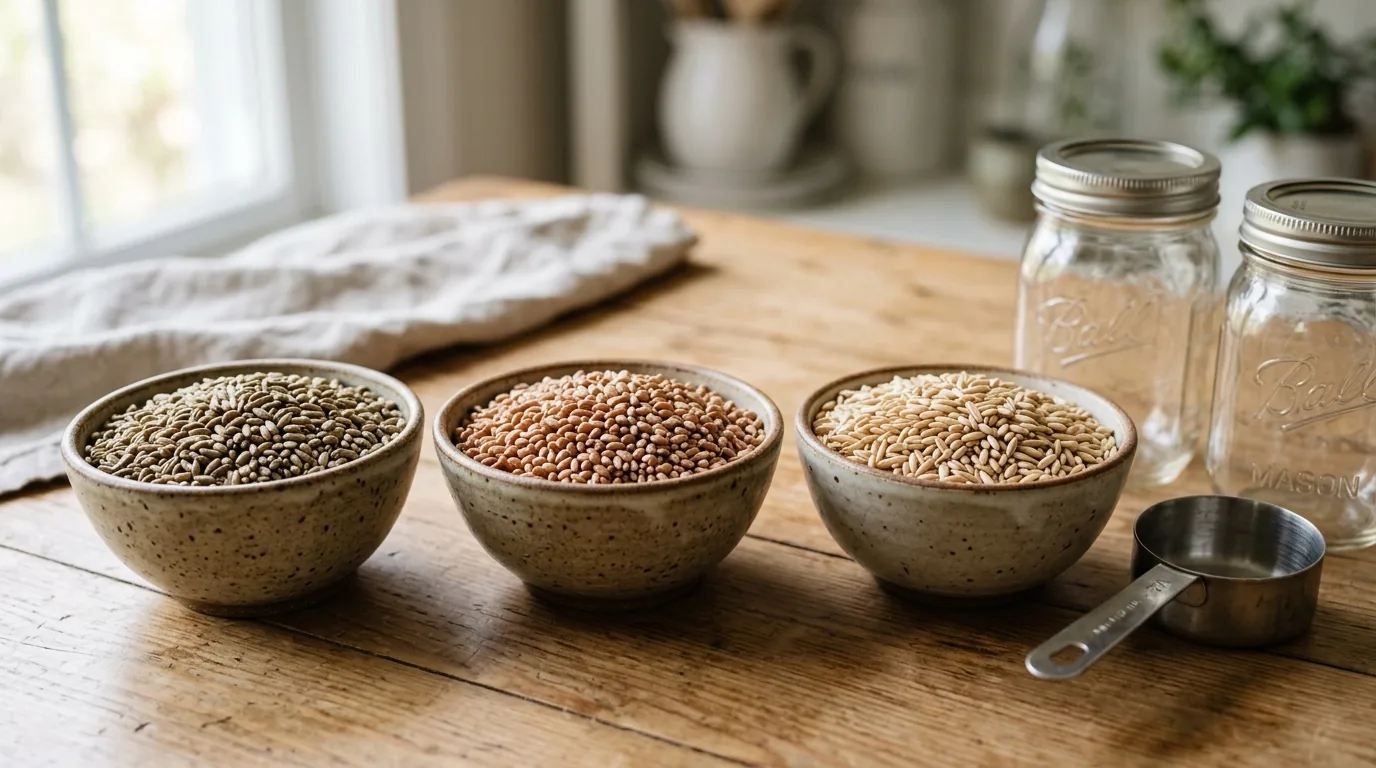
Rye berries: The gold standard. Dense nutritional profile, colonizes vigorously, holds moisture well. Available at natural food stores or in bulk from grain suppliers. More expensive than wheat.
Wheat berries: Similar performance to rye, slightly lower nutrition, slightly drier. More widely available and cheaper. A reliable alternative.
Whole oats: Fastest colonization of the three due to larger surface area per grain. More prone to over-moistening. Good for quick production; requires careful water management.
Avoid: Quick oats, steel-cut oats, or any pre-processed grain. Use whole, intact grains. Enriched or flavored grains are not appropriate.
Step-by-Step Preparation
Step 1: Hydration
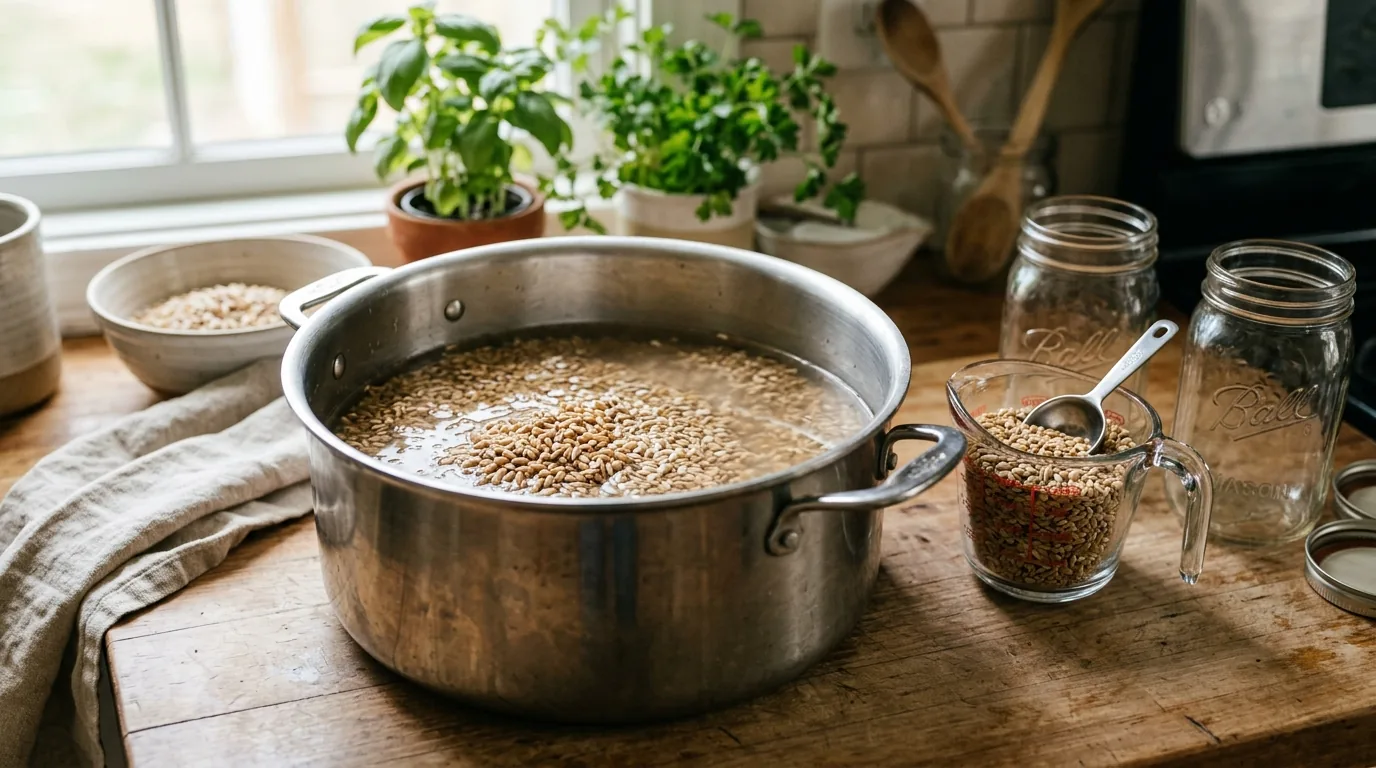
- Measure grain by volume (jars will be filled approximately 50-60% full)
- Soak grain in cold water for 12-24 hours (rye/wheat) or 6-12 hours (oats)
- Soaking allows moisture to penetrate the grain, reducing hard centers that can cause problems during sterilization
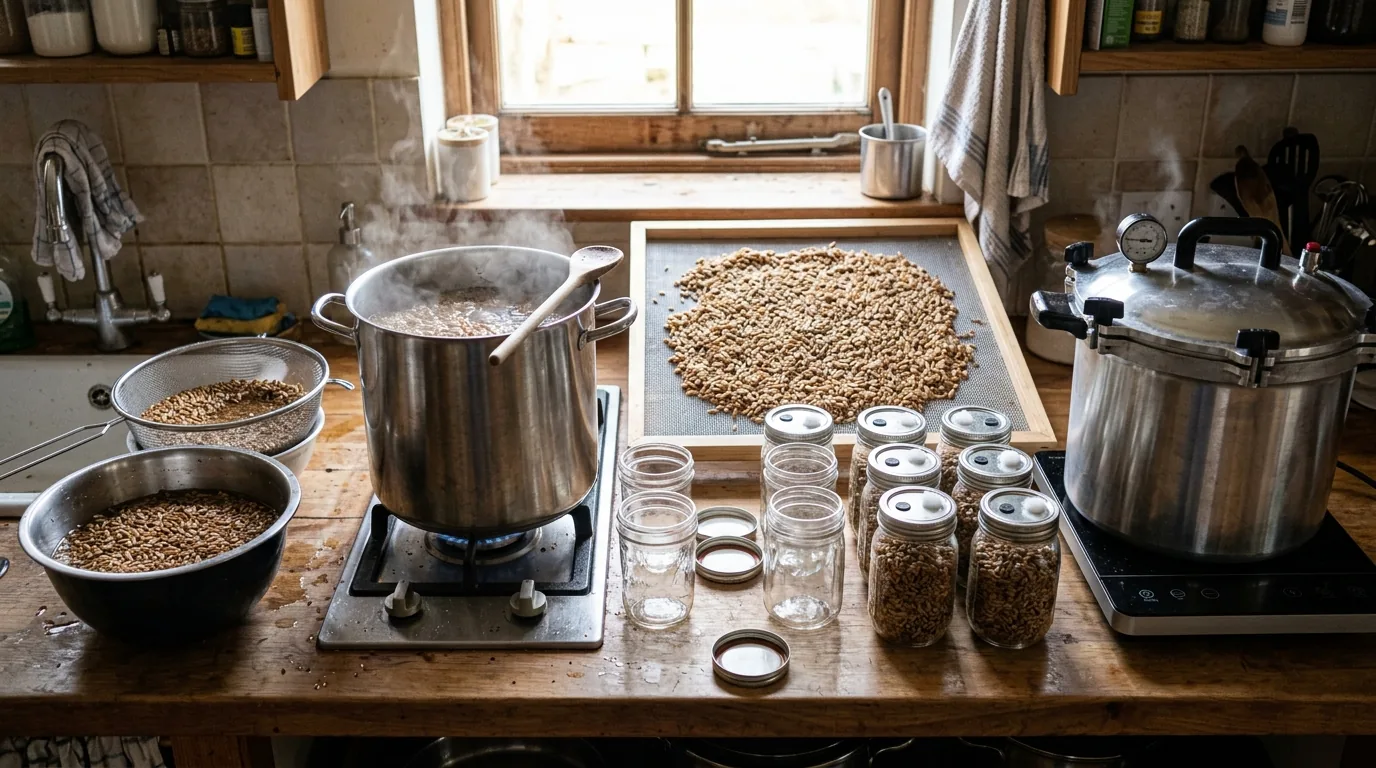
Step 2: Simmer
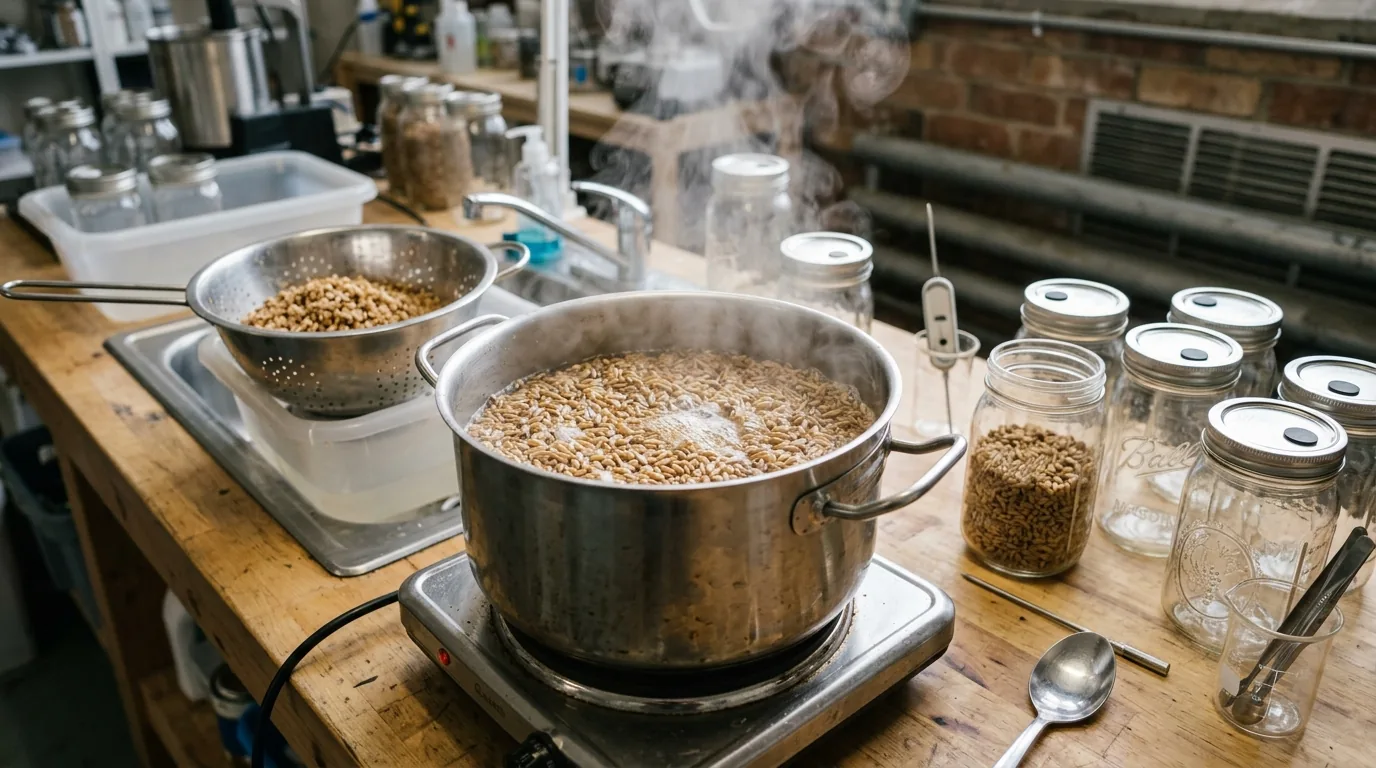
- Drain soaked grain
- Add fresh water (grain submerged) to a pot
- Bring to boil, then reduce to simmer
- Simmer time: rye 15-20 min, wheat 20-25 min, oats 10-15 min
- Grain is ready when it puffs slightly — not fully cooked/mushy, but no hard centers
- Drain into a colander
Step 3: Dry the Surface
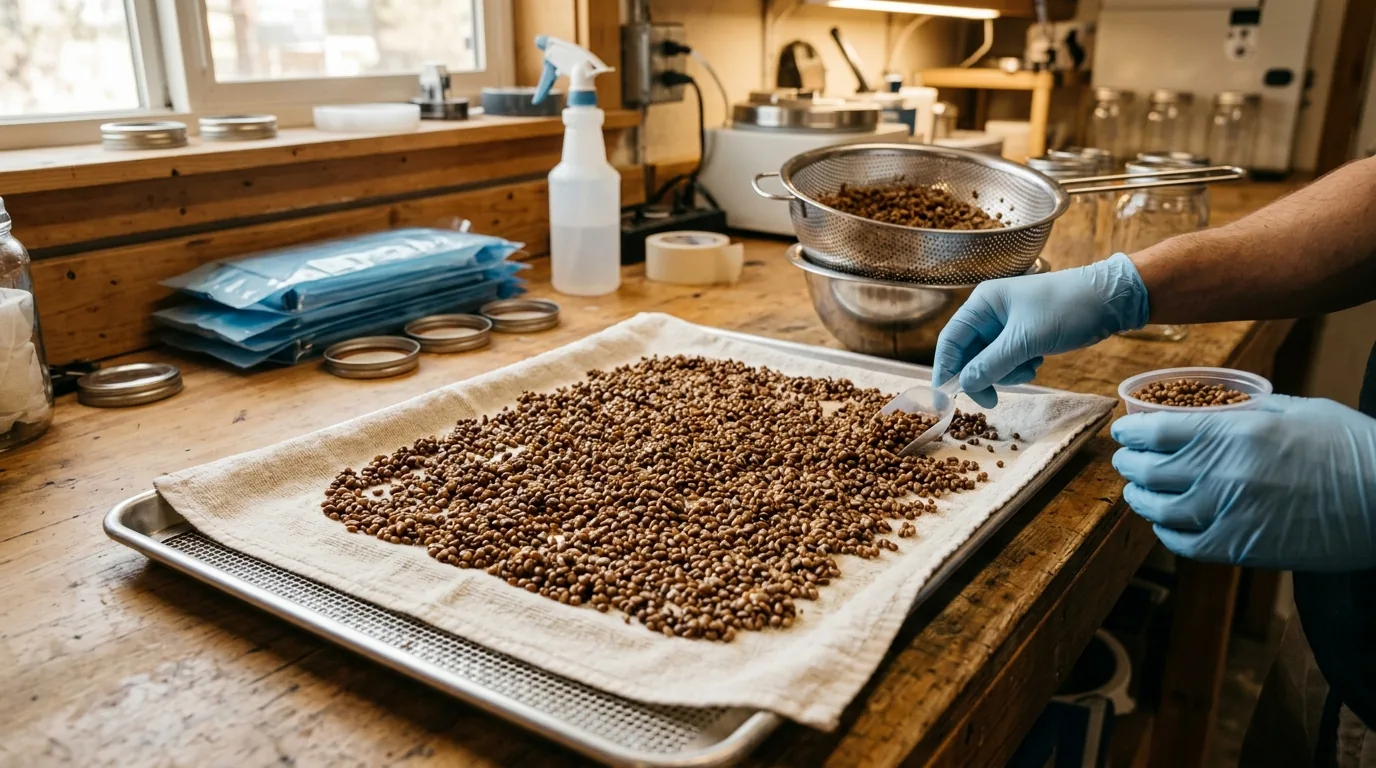
Surface moisture on grain is the primary contamination risk. Remove surface moisture by:
- Spreading on a clean towel and stirring occasionally for 30-60 minutes
- Or using a low oven (150°F) with oven door open for 30 minutes
Target: grain feels dry to touch, pours freely, but is internally moist
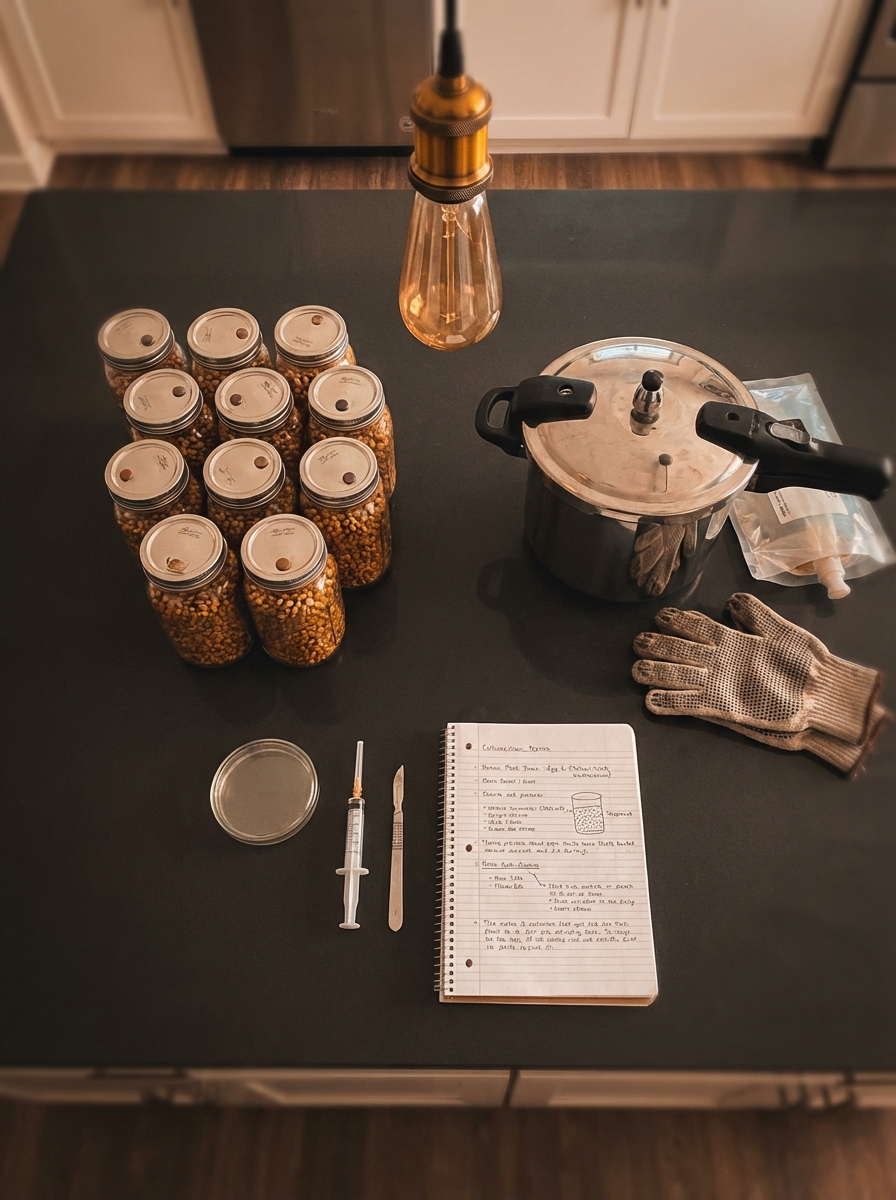
Step 4: Load into Jars
- Fill mason jars to approximately 50-60% capacity (allows mycelium to breathe and jars to expand)
- Loose fill — don't pack the grain
- Wipe inside of jar neck clean before lidding
- Lid with modified lids: drill 1/4" hole, fill with polyfill or tyvek disk under the metal lid for gas exchange
Step 5: Sterilize
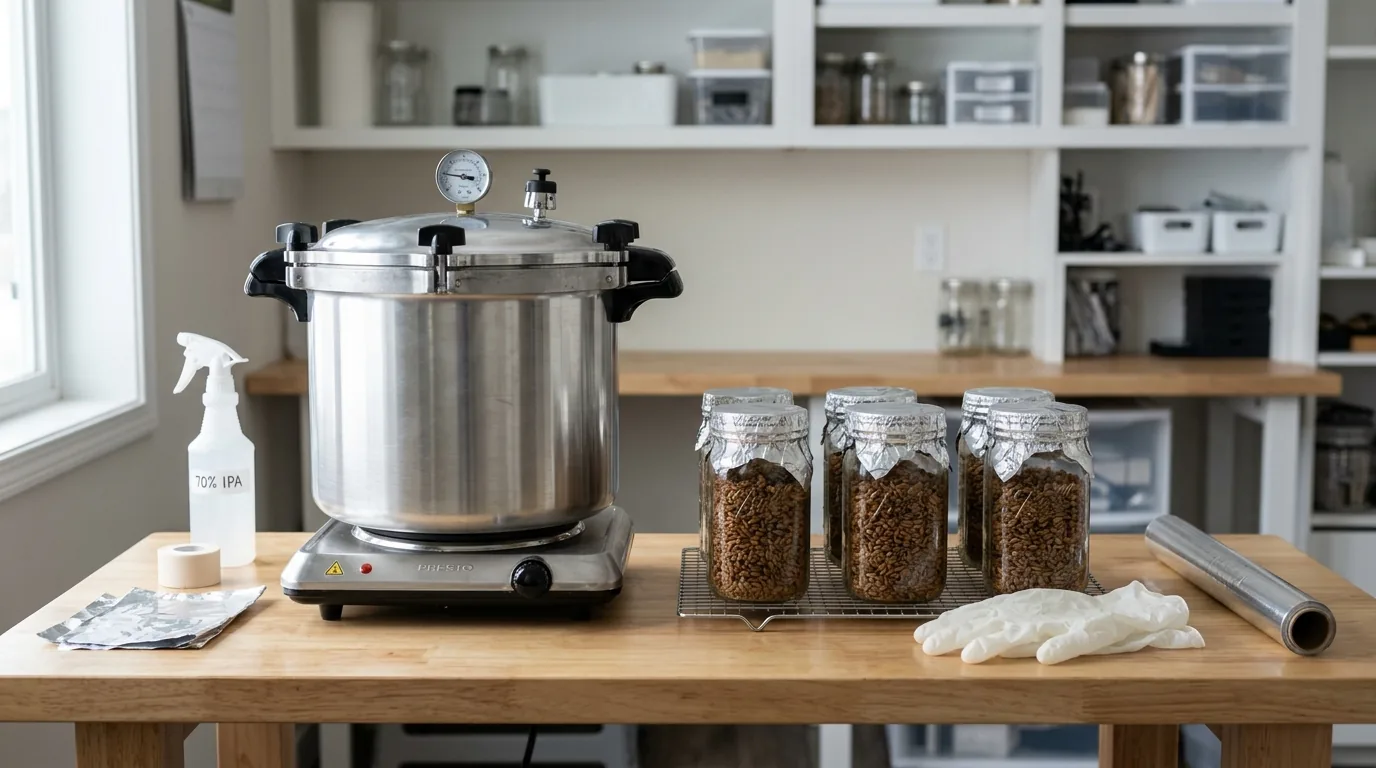
Pressure cooker required (not a standard stockpot):
- 15-25 PSI for 90 minutes (half-pint jars)
- 15-25 PSI for 120-150 minutes (quart jars)
Allow to cool completely before inoculation — minimum 12-24 hours. Inoculating hot grain will kill the inoculant.
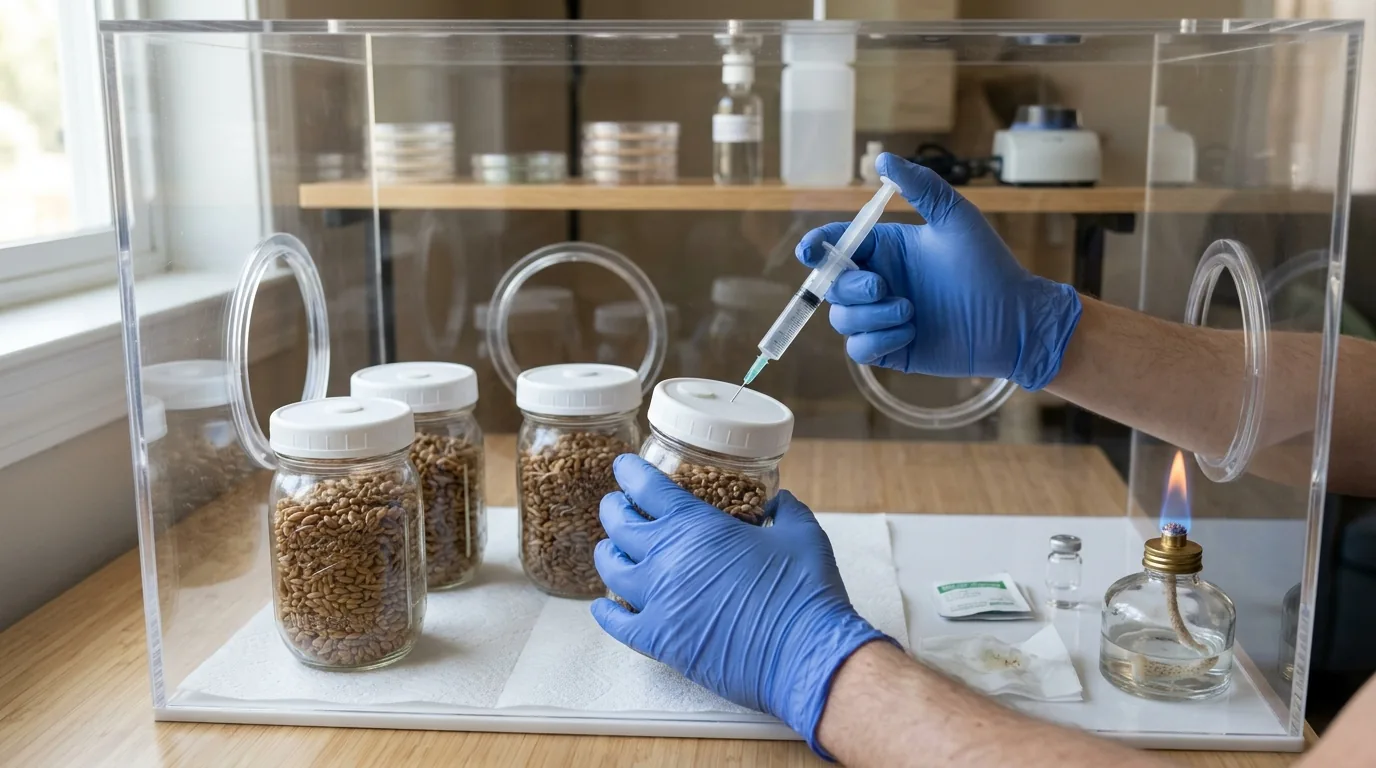
Inoculation

Work in the cleanest environment possible:
- Still air box or flow hood
- 70% isopropyl wipe-down of all surfaces
- Flame-sterilize needle, let cool before use
- Inject through polyfill port: 1-2ml of liquid culture per half-pint jar
- Shake after injection to distribute inoculant
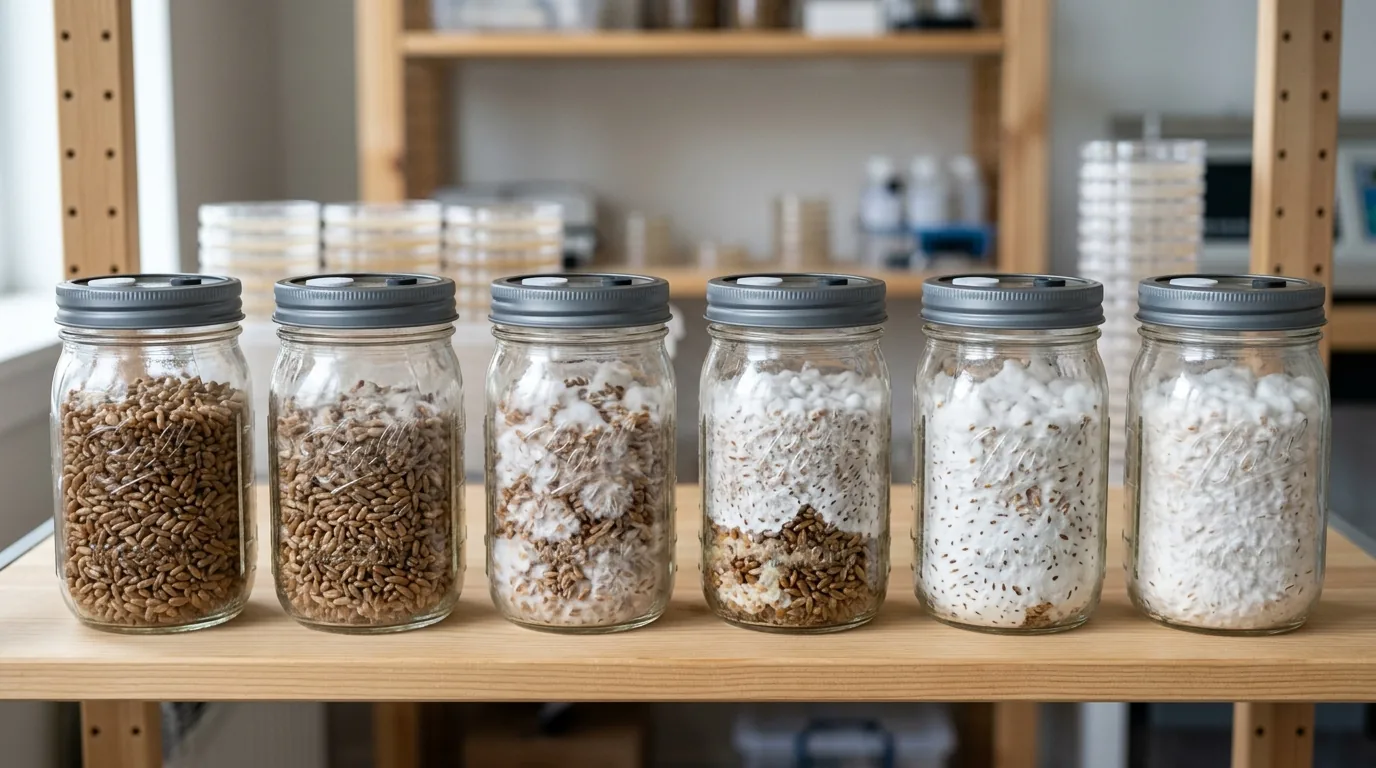
Colonization Timeline
| Grain Type | Expected Full Colonization | |-----------|---------------------------| | Rye berries | 10-18 days | | Wheat berries | 12-20 days | | Whole oats | 8-14 days |
Colonization at 75-80°F. Shake jars after initial mycelium growth (first white patches visible, 5-7 days) to distribute colonization evenly.
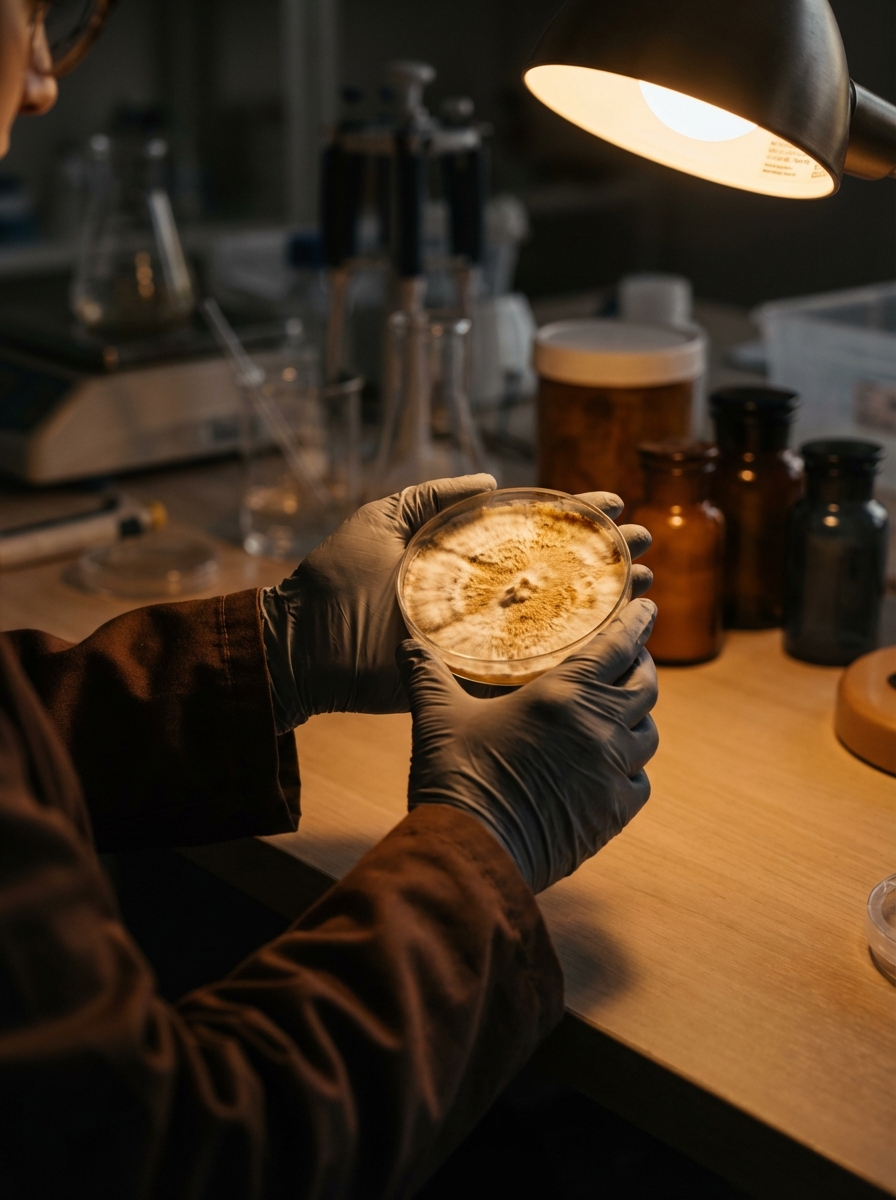
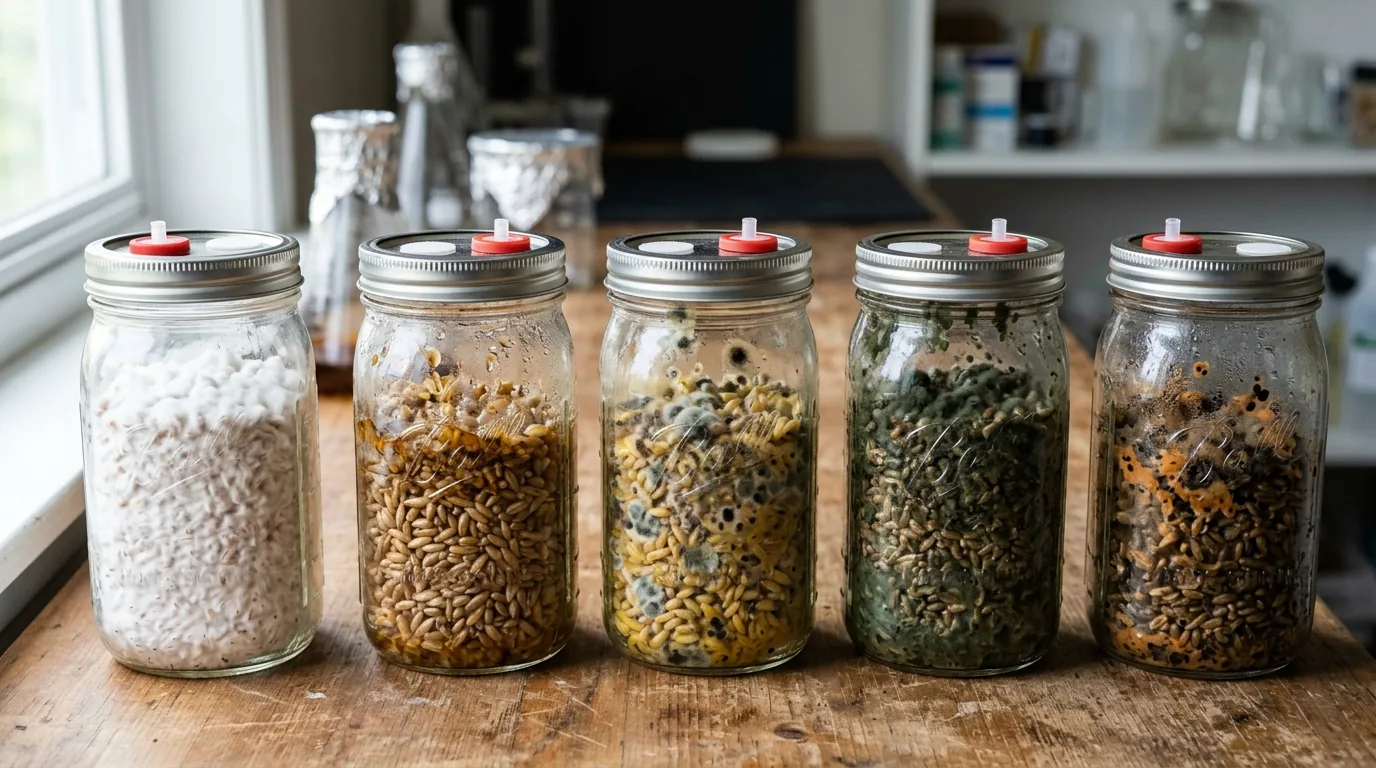
Signs of Contamination
- Green, black, or pink patches: Mold contamination — discard immediately, do not open
- Wet/slimy appearance: Bacterial contamination from over-wet grain
- Sour smell when opened: Bacterial contamination
Contaminated jars should be sealed in a bag before disposal to prevent spore dispersal.
Spawn Rate for Bulk Substrate
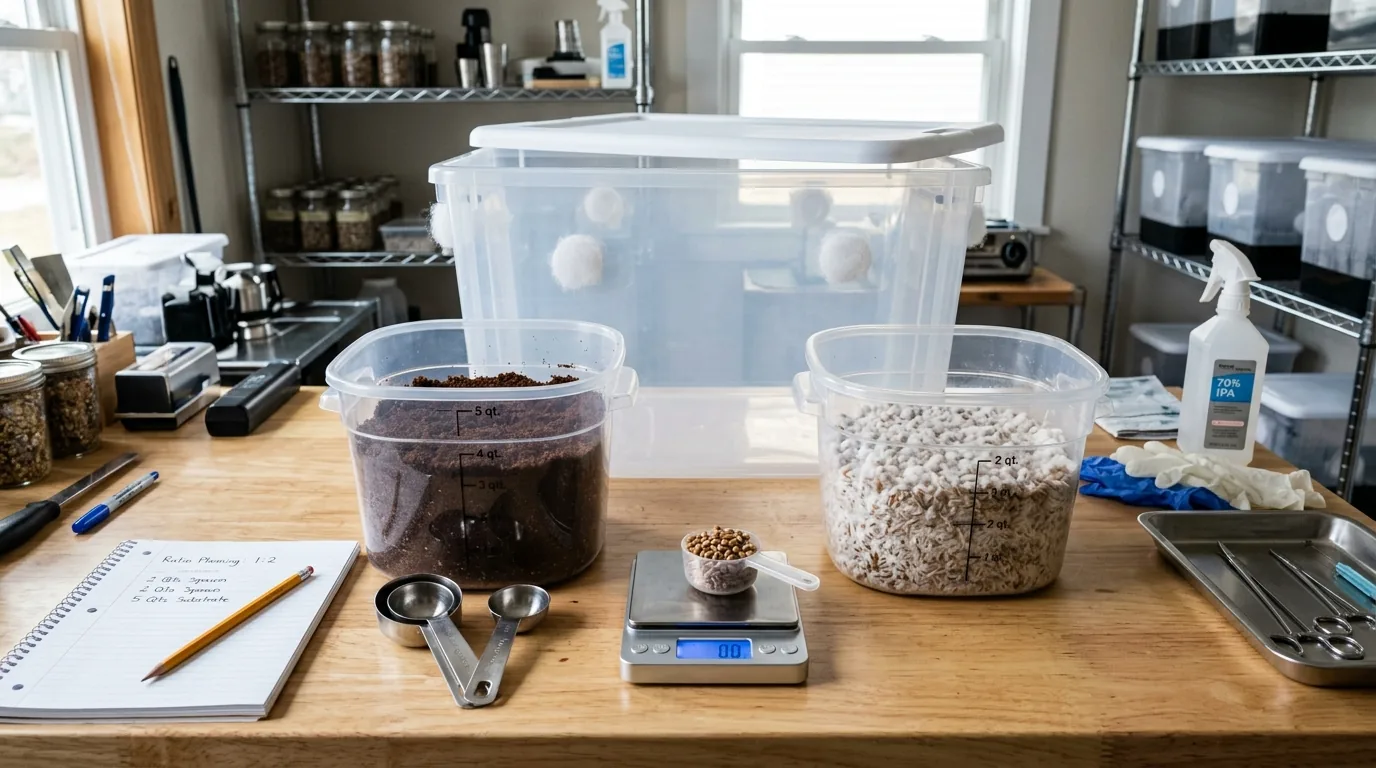
When using grain spawn to inoculate bulk substrate:
- 15-20% spawn rate: slower colonization, higher contamination risk
- 25-30% spawn rate: faster colonization, mycelium outcompetes contaminants
- For beginners: use 25-30% spawn rate to minimize contamination
Common Problems & Troubleshooting
See the Contamination Guide for common issues.
Tips for Success
Take notes at every stage. Consistency beats perfection.