Harvesting and Drying Psilocybin Mushrooms: A Complete Guide
Everything you need to know about Harvesting and Drying Psilocybin Mushrooms: A Complete Guide — from materials to first harvest.


What You'll Need
- See full supply list in guide below.
Find grow supplies at vendors in our Directory.
Step-by-Step Process
Harvesting and Drying Psilocybin Mushrooms: A Complete Guide
Harvesting at the right time and drying correctly preserves potency and prevents spoilage. This guide covers harvest timing, harvest technique, drying methods from no-equipment to advanced, and storage.
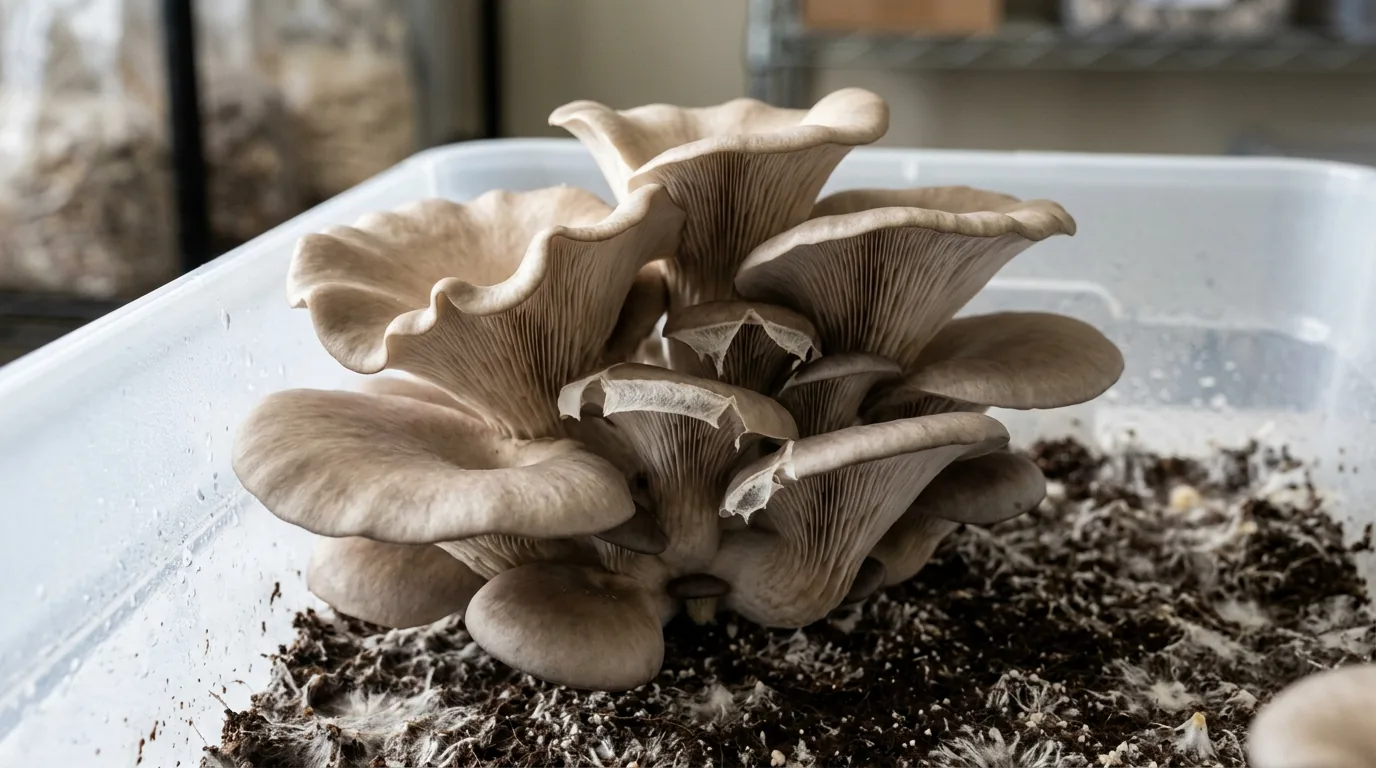
When to Harvest: The Veil Rule
The critical harvest window is just before or just as the veil tears.
The veil is the thin white membrane connecting the cap edge to the stem. It protects the gills while the mushroom matures. As the cap expands, the veil stretches and eventually tears, exposing the gills and allowing spores to drop.
Why harvest before full veil tear:
- Potency: Psilocybin content peaks just before sporulation — the mushroom produces its maximum alkaloid content during the spore-drop phase. Harvesting before veil tear captures the peak.
- Contamination prevention: After veil tear, spores drop onto the substrate surface. A heavy spore drop can inhibit future pinning and create a nutrient-poor layer that invites contamination.
- Weight: Mushrooms lose a significant portion of their wet weight during active sporulation.
Harvest immediately if you see a purple-black dust on the substrate or cap — that's a spore print being deposited, and you've waited too long.
The ideal harvest window:
- Cap begins to flatten and open, but retains slight curvature
- Veil is taut and showing slight whitening at the edges where it will tear
- Gills not yet exposed
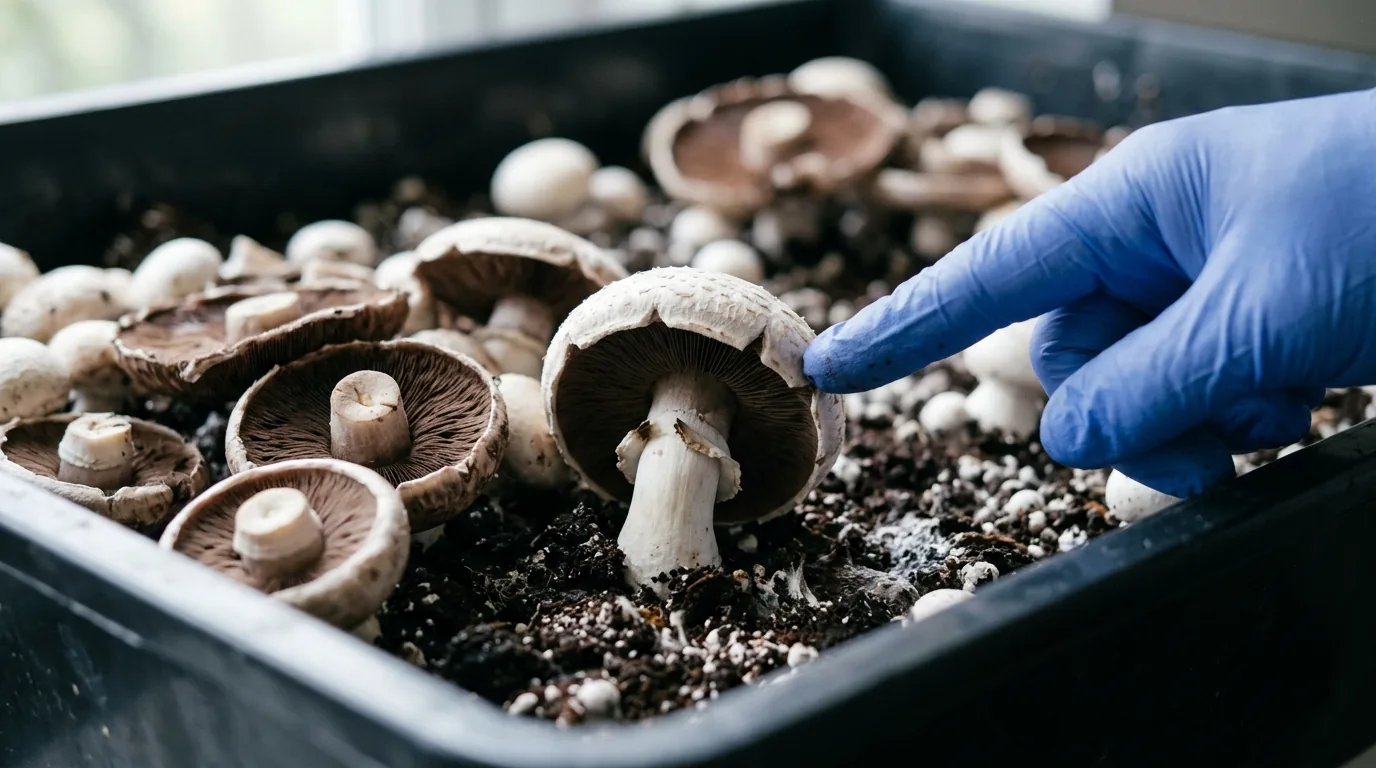
Harvest Technique
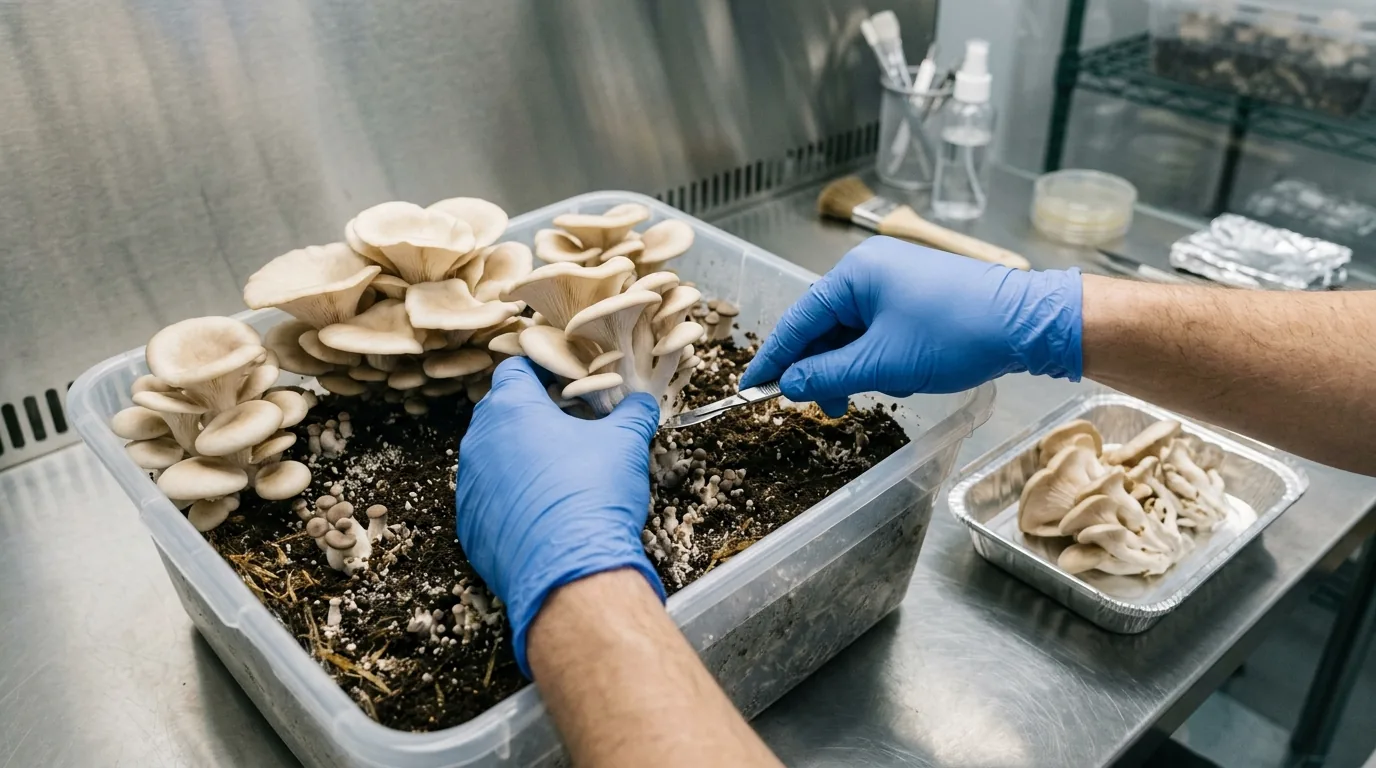
Twist-and-pull (preferred over cutting):
- Grasp the mushroom stem close to the substrate
- Twist gently while pulling upward
- The entire stem base, including primordia connection, comes free without leaving a stub
Why not cut: A cut stem stub left in the substrate is dead organic matter — it rots and creates a contamination point. The twist-pull method removes the entire fruiting body cleanly.
After harvesting:
- Inspect the substrate surface for holes left by harvested pins — these are normal
- Remove any pins that aborted (small, dark, dried pins) — these will rot if left
- Do not remove pins that are still growing and undamaged
Fan and Veil (FAV) Harvest Method
For optimal second-flush performance:
- After harvesting all mature mushrooms, check for fully formed pins that aren't ready yet
- Wait 24–48 hours for remaining pins to develop
- Harvest all, including small ones that won't reach full size
- This full harvest allows you to proceed to the rehydration step with a clean substrate
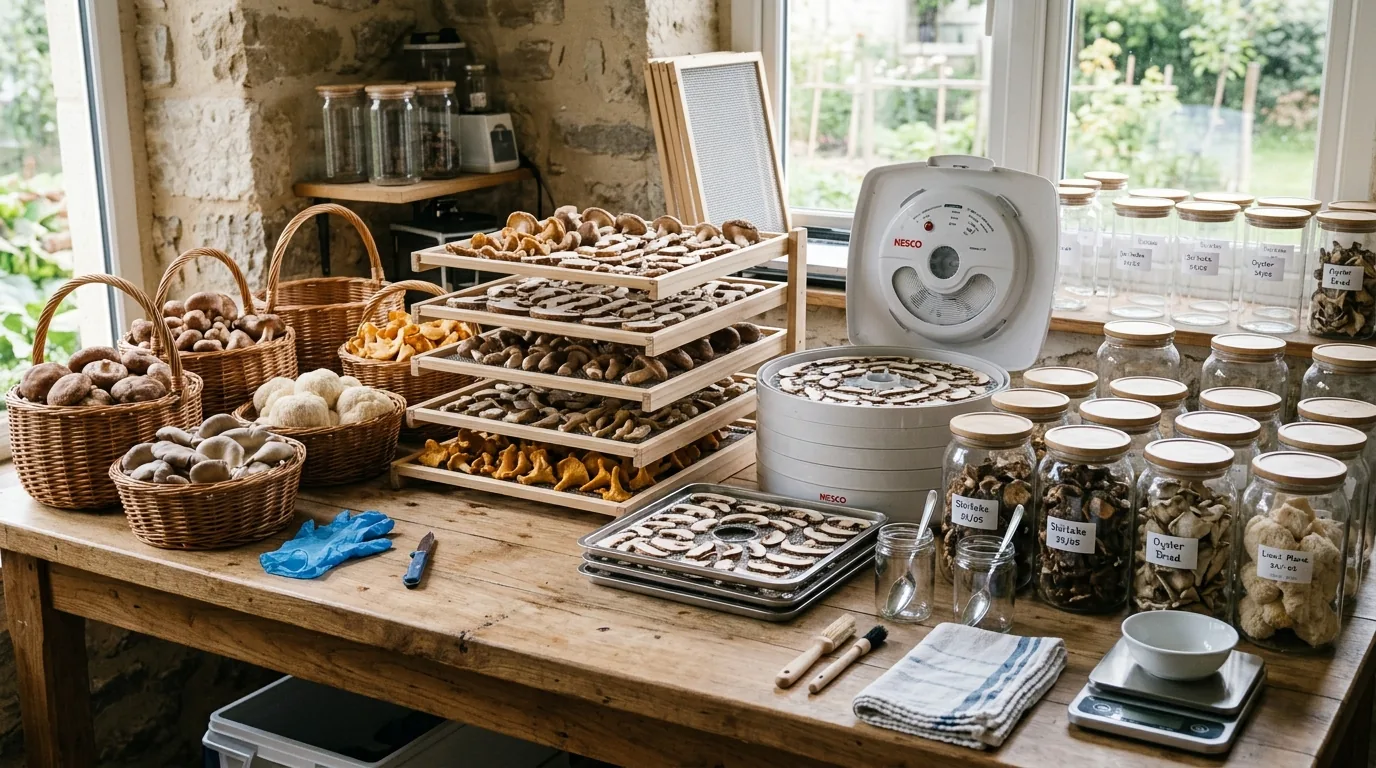
Drying Methods
Properly dried mushrooms (under 10% moisture content) preserve potency for 12–18+ months. Fresh mushrooms spoil within 5–7 days even refrigerated.
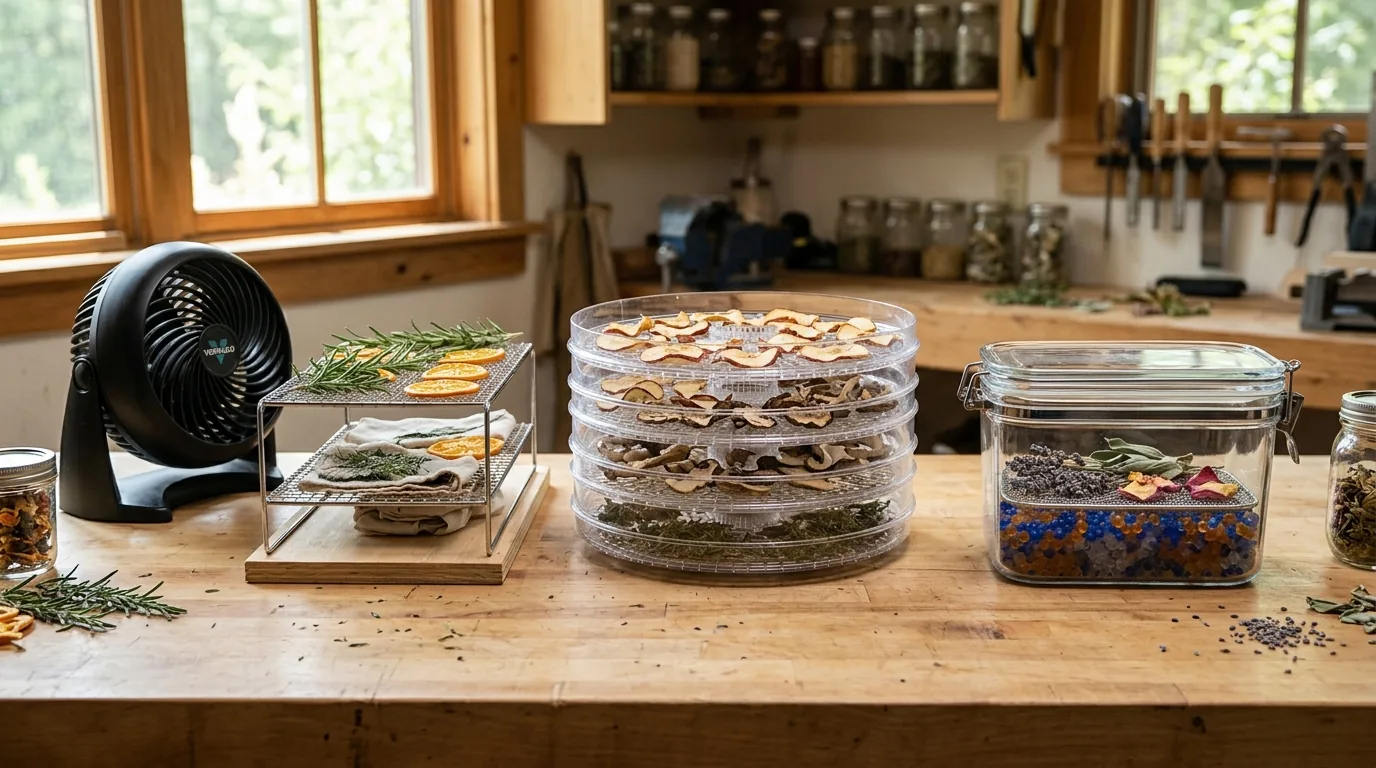
Method 1: Fan + Desiccant (Recommended for Beginners)
Equipment:
- Small fan (USB or clip-on)
- Food dehydrator or clean surface
- Desiccant (food-grade silica gel, available cheaply in bulk)
- Airtight jar or container
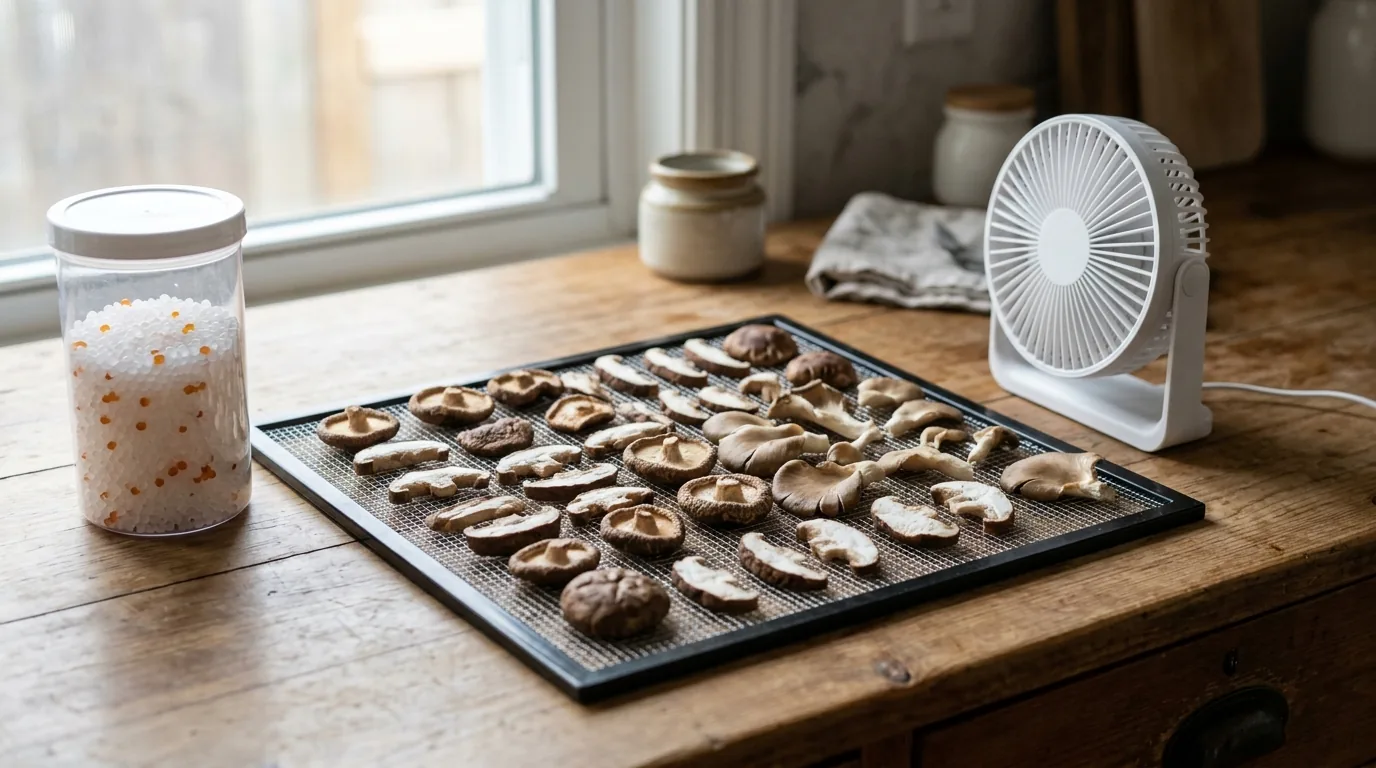
Process:
- Lay mushrooms on a clean wire rack or paper towels in a single layer
- Point fan at them on low setting — not directly blasting
- Pre-dry for 12–24 hours until they reach the "cracker dry" stage: stems snap cleanly when bent, caps feel like paper
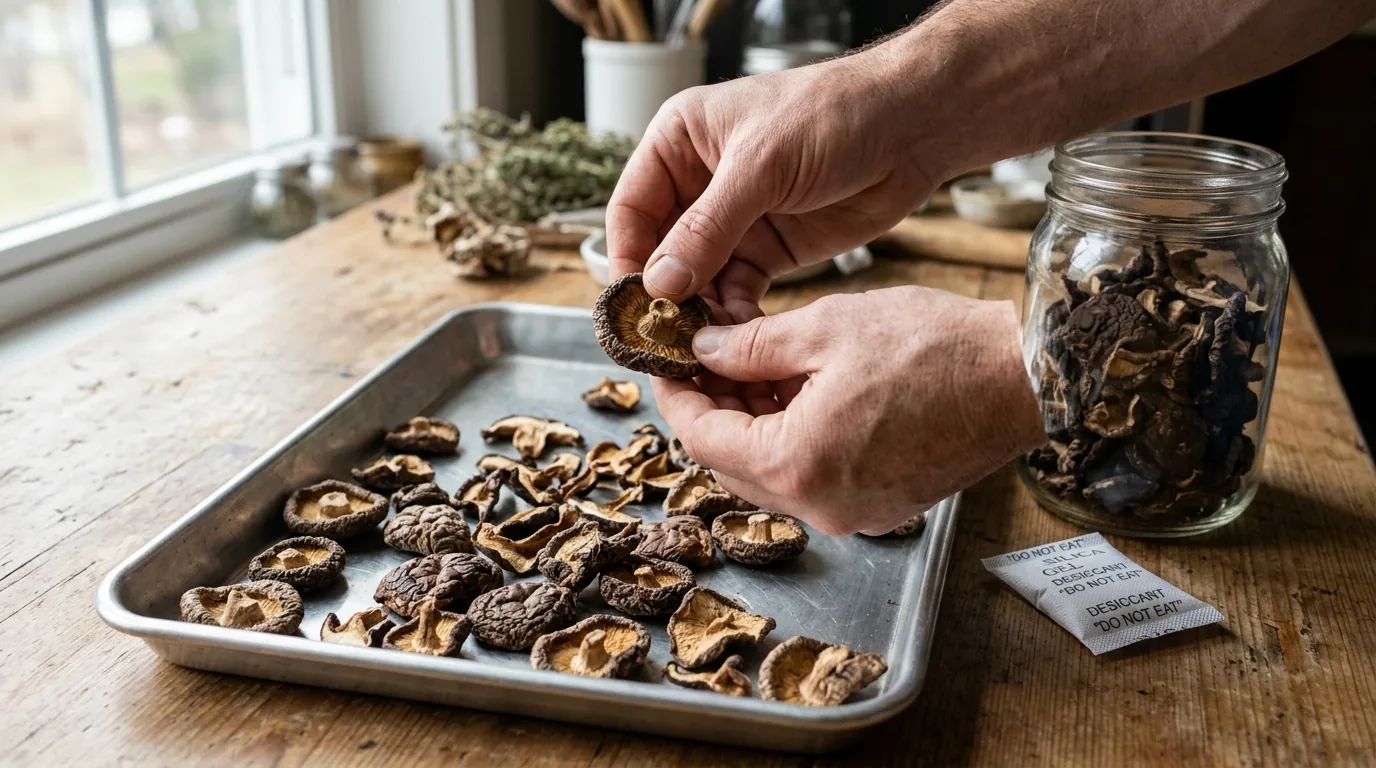
- Place pre-dried mushrooms in an airtight jar with desiccant packets (or a layer of loose silica gel under a folded paper towel barrier)
- Check after 24–48 hours — mushrooms should be bone-dry and crackling
Key step: Pre-drying in air before adding desiccant is important. Wet mushrooms placed directly with desiccant can deplete the desiccant before drying is complete.
Method 2: Food Dehydrator

Equipment:
- Food dehydrator with temperature control
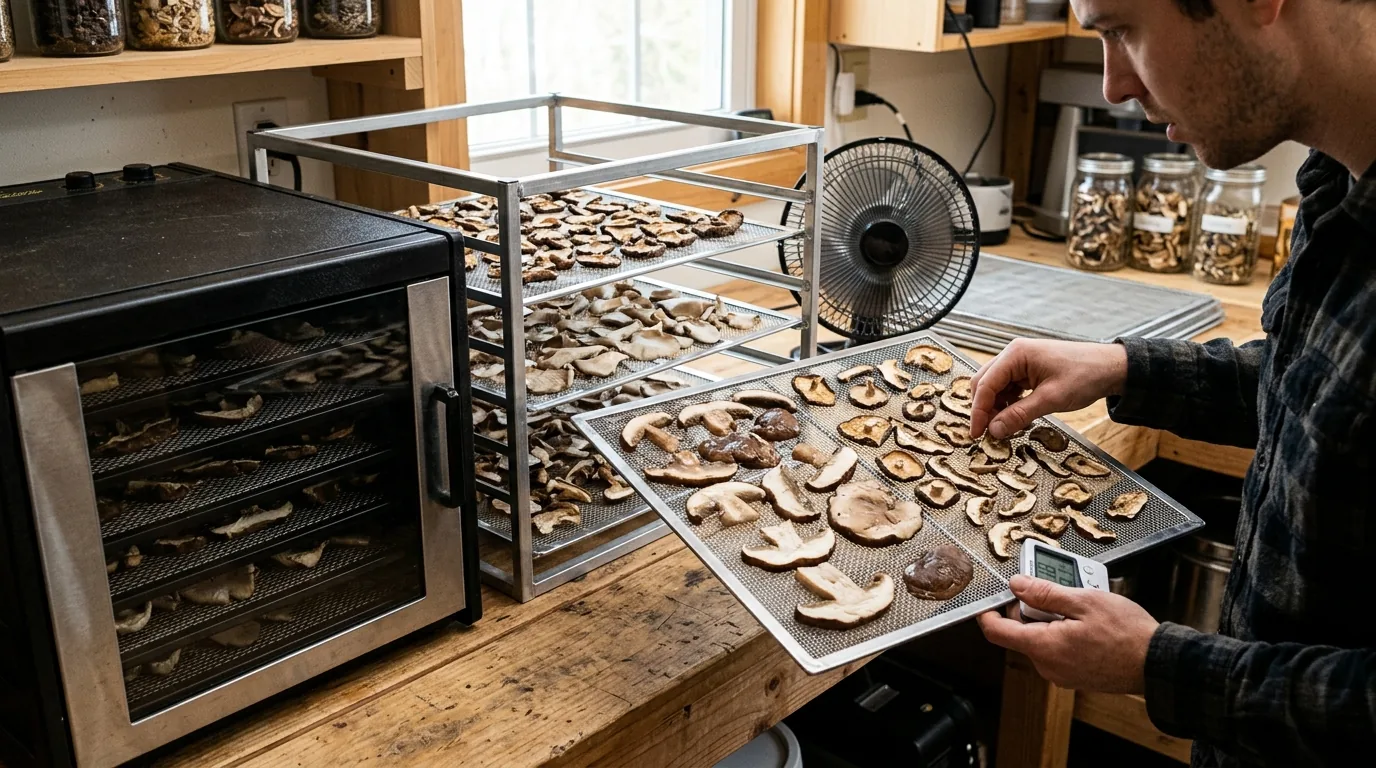
Temperature: 95–115°F (35–46°C). Higher temperatures degrade psilocybin. Do not exceed 120°F (49°C).
Process:
- Lay mushrooms on dehydrator trays in single layer
- Run at 95–110°F for 4–8 hours depending on size and mushroom thickness
- Check for cracker-dry consistency — stems snap, no flex
- Finish with desiccant in airtight jar for storage
Food dehydrators produce more consistent results than fan-drying alone and are faster, but temperature control matters — cheap dehydrators without accurate thermostats can overheat.
Method 3: Freeze Drying (Best Quality, Expensive)
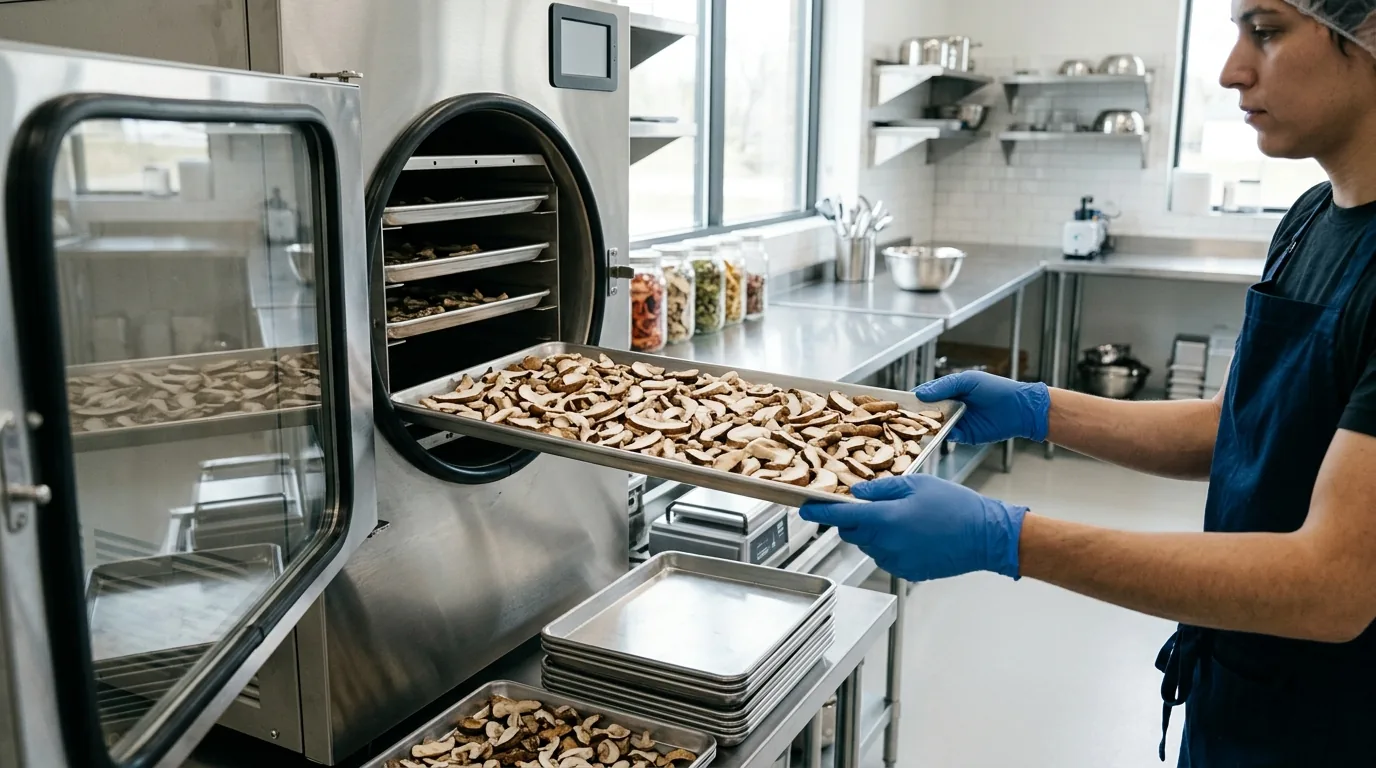
Freeze-drying (lyophilization) removes moisture at very low temperatures under vacuum, preserving cellular structure and maximizing alkaloid retention. Freeze-dried mushrooms look fresh and have measurably higher potency than heat-dried.
Equipment: Freeze dryer ($400–$2,000 for home units; commercial units much more)
This is not a beginner method. The potency difference versus proper fan+desiccant drying is real but modest — freeze drying is most relevant for cultivators producing at scale or running potency-focused cultivars.
Testing for Dryness
The snap test: Pinch the thickest part of a mushroom stem and bend. If it snaps cleanly, it's dry. If it bends or leaves a moisture streak, it needs more time.
The weight test: Weigh a sample batch fresh. Properly dried mushrooms will weigh approximately 10–12% of their fresh weight. (A 100g fresh harvest should yield 10–12g dried.)
Common mistake: Mushrooms that feel dry on the surface but have moisture in the stem. The snap test prevents storage of under-dried mushrooms.
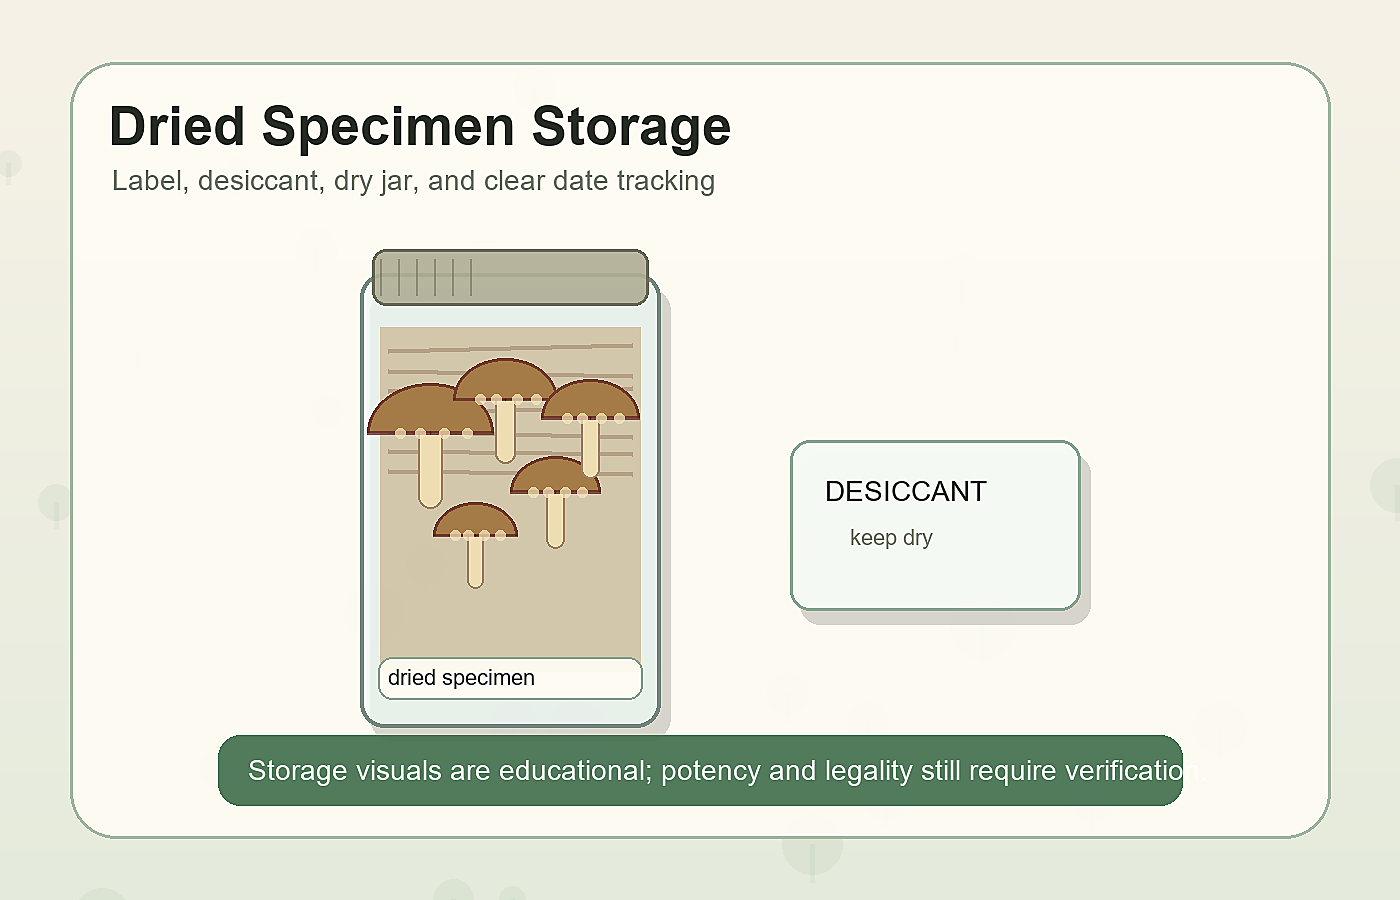
Storage
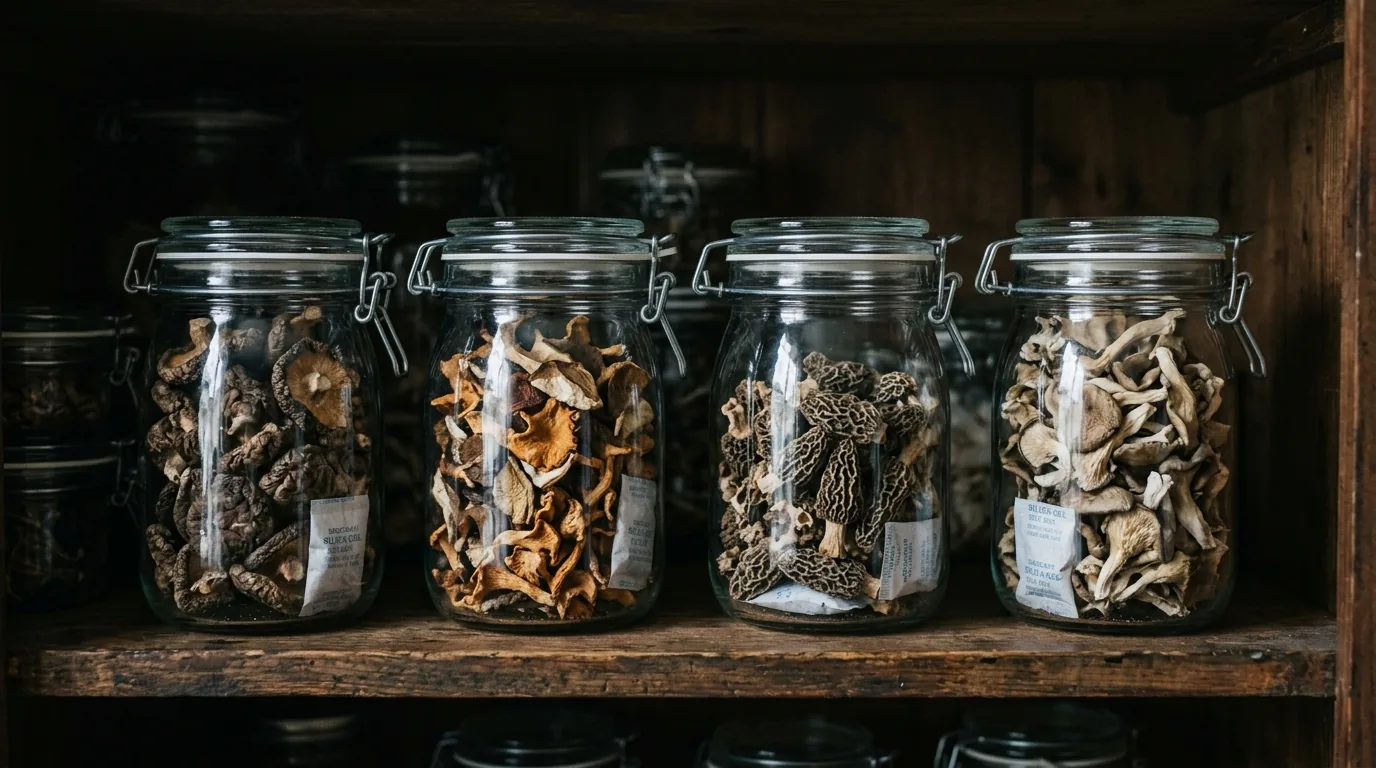
Best storage conditions:
- Bone dry (snap test confirmed)
- Airtight container (mason jar, vacuum-sealed bag)
- Desiccant inside (1–2 packets per jar)
- Dark storage (light degrades psilocybin — opaque or dark container)
- Cool temperature (refrigerator extends shelf life; room temperature acceptable if dry and dark)
- No freezing of dried mushrooms (humidity on defrost can cause condensation)
Expected shelf life:
- Properly dried + airtight + dark: 12–24 months before significant potency loss
- Improperly stored (humid, light exposure): 2–4 months before degradation
Blue coloration: As mushrooms dry and age, psilocin oxidizes to produce a characteristic blue-green coloration. This is a sign of psilocybin content, not spoilage. Do not discard blue mushrooms.
Making Mushroom Powder
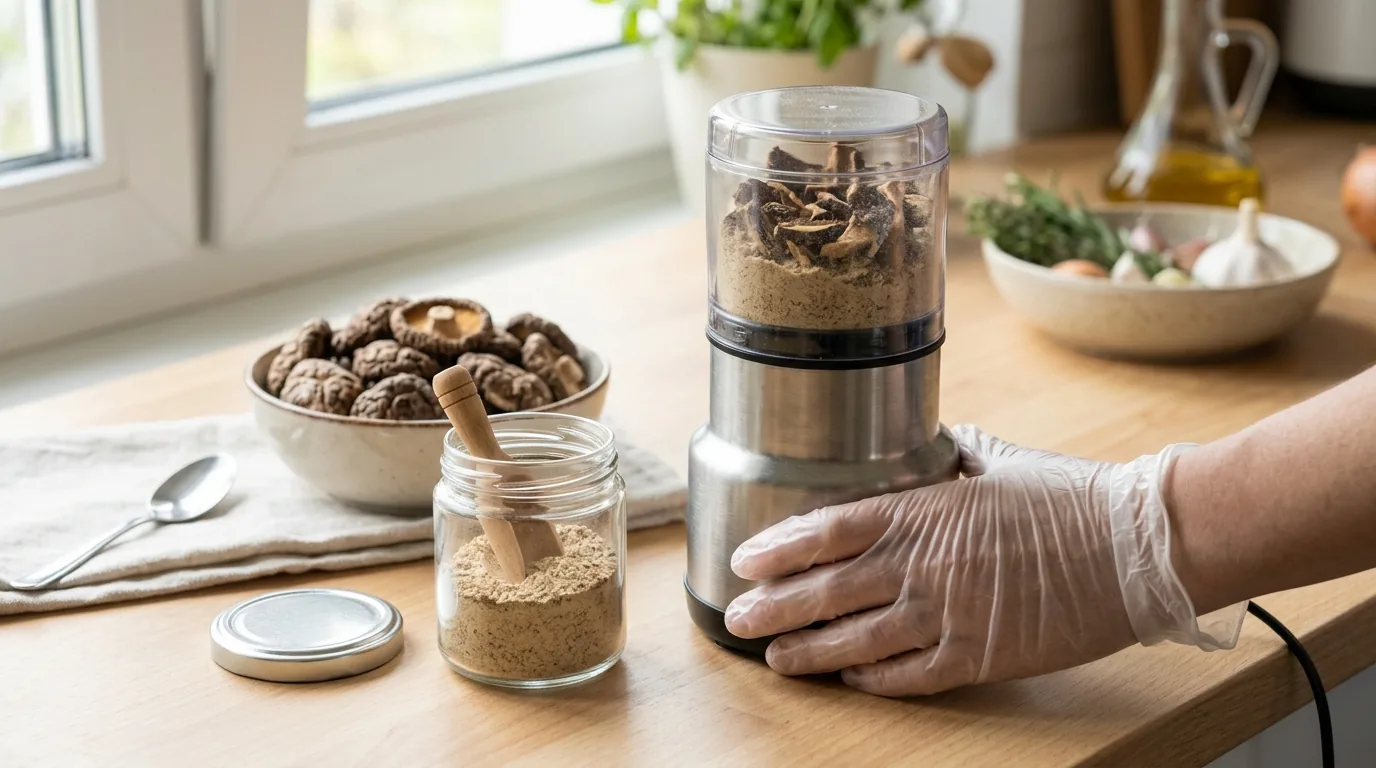
For more consistent dosing, grinding dried mushrooms into powder before consumption creates a homogenous mixture — important because potency varies within a mushroom (caps generally more potent than stems).
Method:
- Ensure mushrooms are completely cracker-dry
- Place in a clean electric coffee/spice grinder
- Grind in short bursts until uniform powder
- Store powder in an airtight jar with desiccant — powder absorbs moisture faster than whole mushrooms
Powder for capsules: 00 gel capsules typically hold 0.5g of mushroom powder. This is a convenient format for microdosing with consistent measurement.
Troubleshooting
Mushrooms went soft after storage: Moisture was absorbed. Dry again immediately. Extend drying time next batch.
White fuzzy growth on stored mushrooms: Mold from insufficient drying or airtight seal failure. Discard — do not consume moldy mushrooms.
Mushrooms turned very dark after drying: Normal for some strains, especially higher-potency variants. Blue-black coloration from psilocin oxidation is expected and indicates alkaloid content.
Low dry weight yield: Check harvest timing — harvesting very late (after major spore drop) reduces yield. Also check drying was complete before weighing.
Common Problems & Troubleshooting
See the Contamination Guide for common issues.
Tips for Success
Take notes at every stage. Consistency beats perfection.